Getting Started
This guide walks you through everything from creating your account to being productive on HollowPurple.
Step 1 — Create Your Account
Go to the app and click Create an account.
You'll need to provide:
- First and last name
- Username — your unique handle on the platform (letters, numbers, dashes only)
- Email address
- Password
After registration, we'll send a welcome email and (if email verification is enabled) a verification link. Once verified, you'll be taken straight to the onboarding wizard.
Step 2 — The Onboarding Wizard
The wizard has four steps. You can skip the profile and organization steps and come back later.
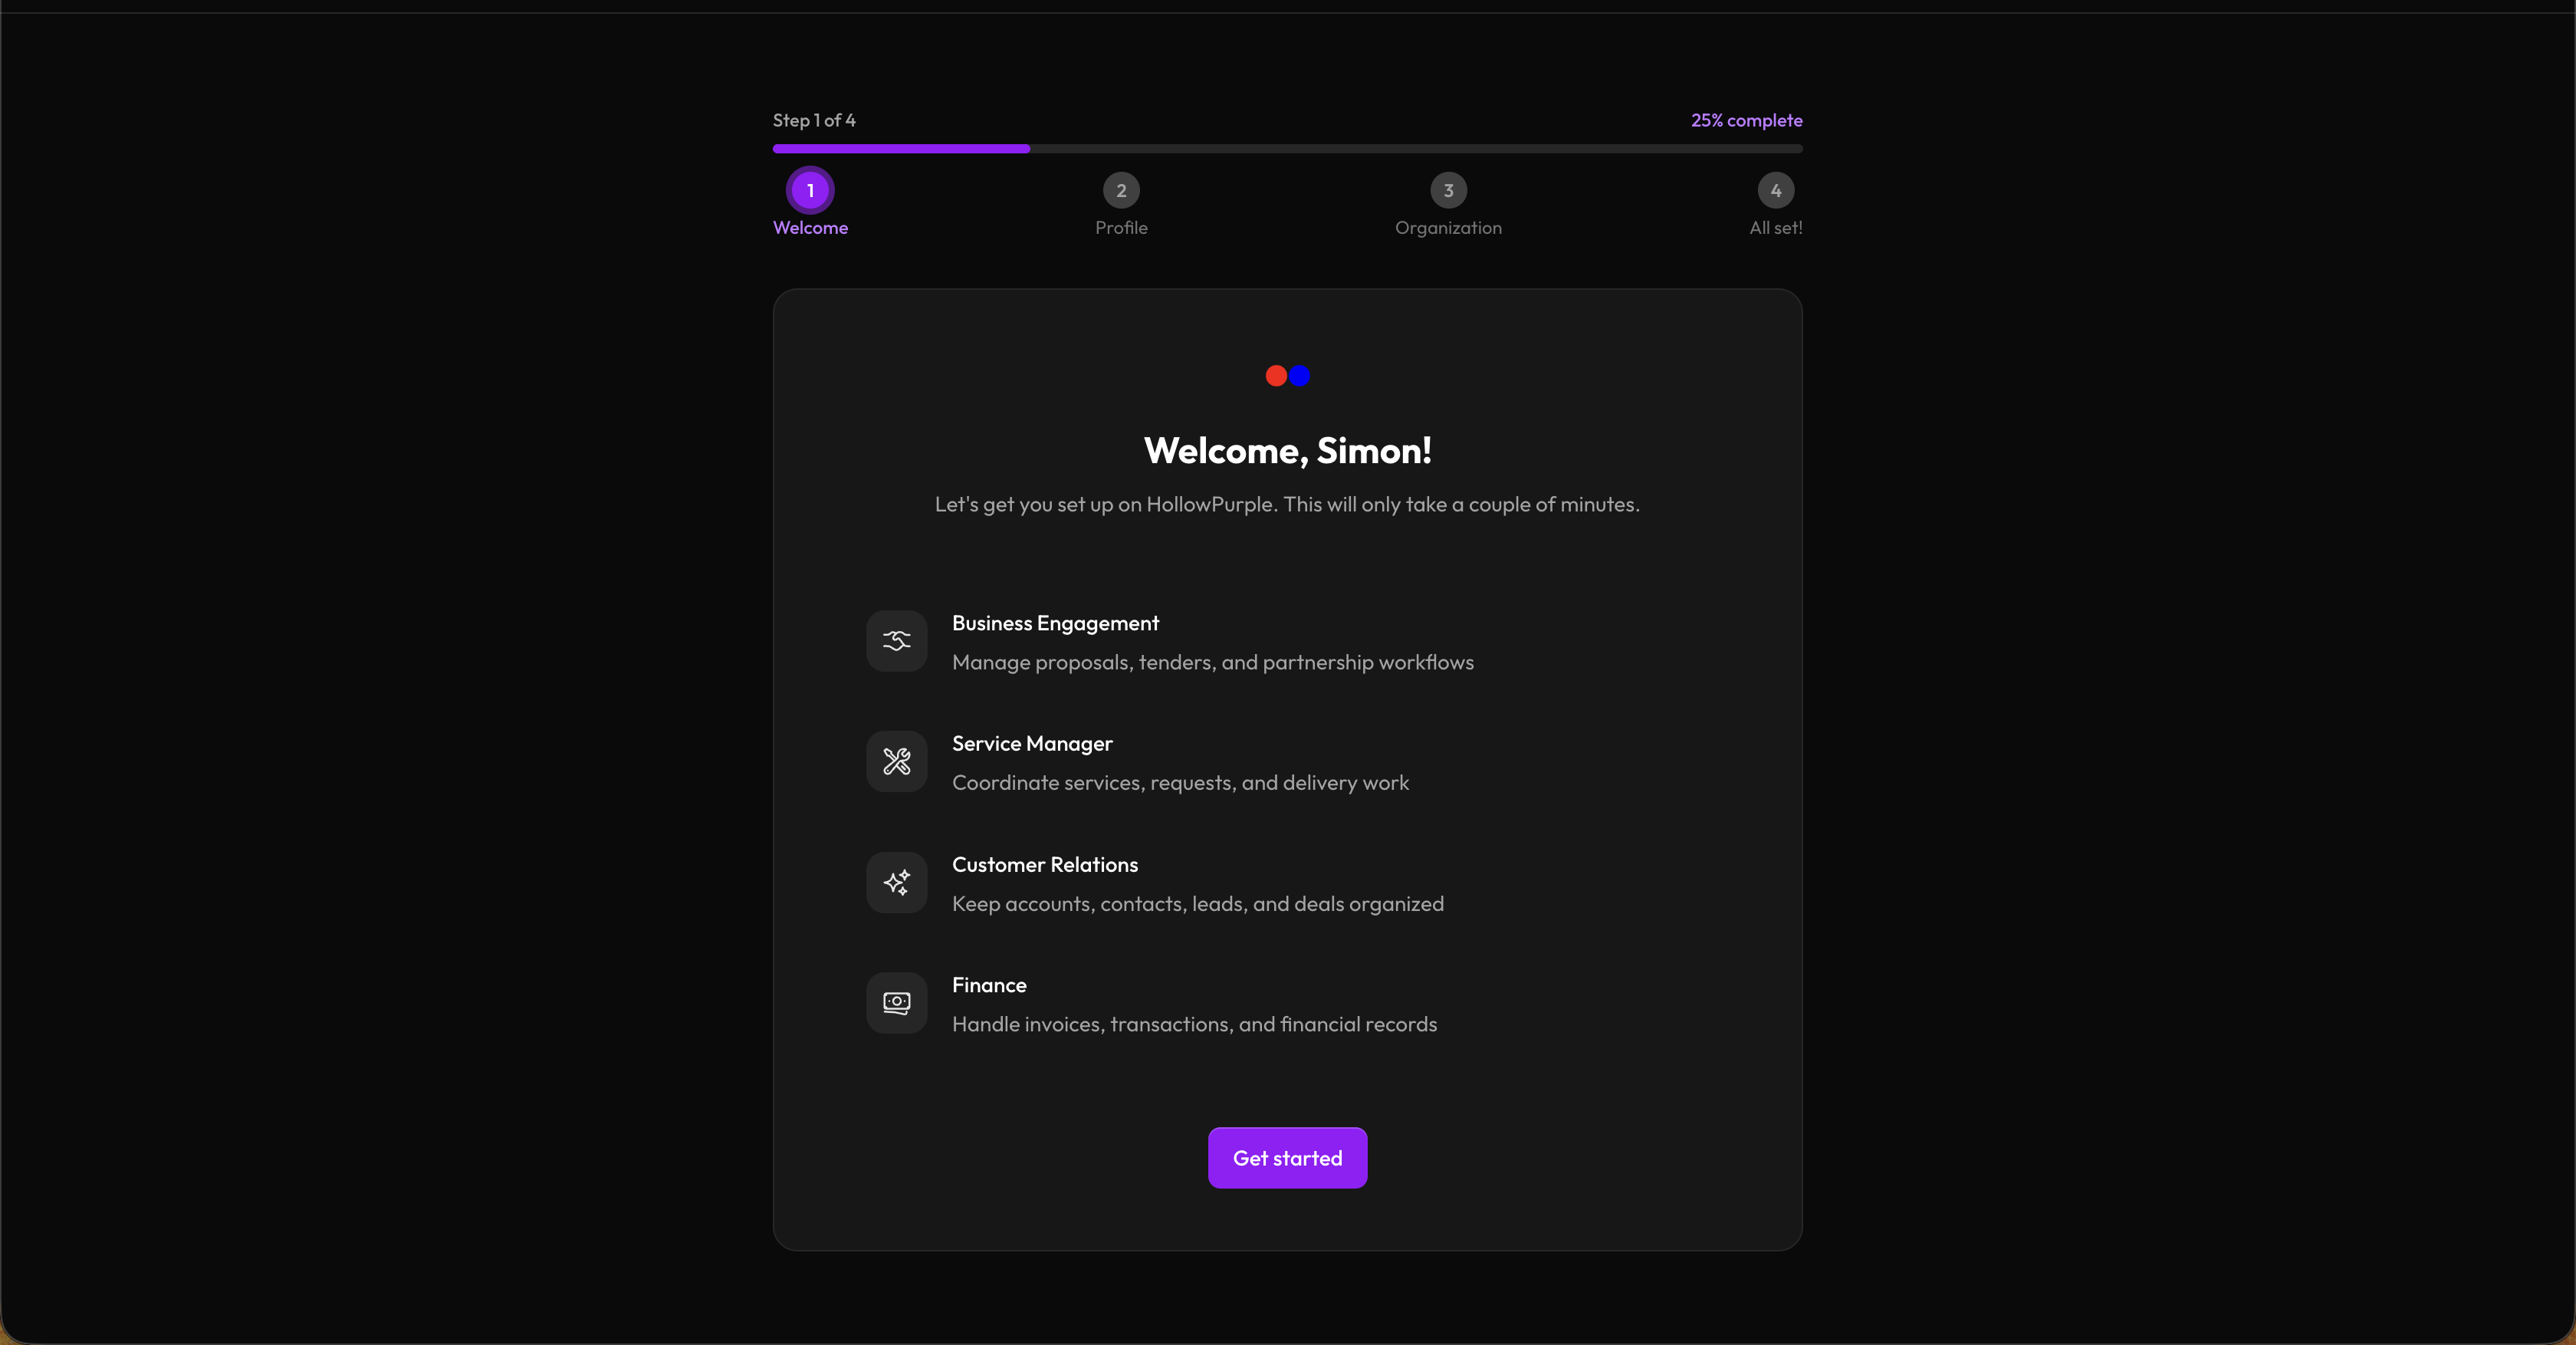
Welcome
A quick overview of what HollowPurple can do — Business Engagement, Service Manager, Customer Relations, and Finance. Click Get started to proceed.
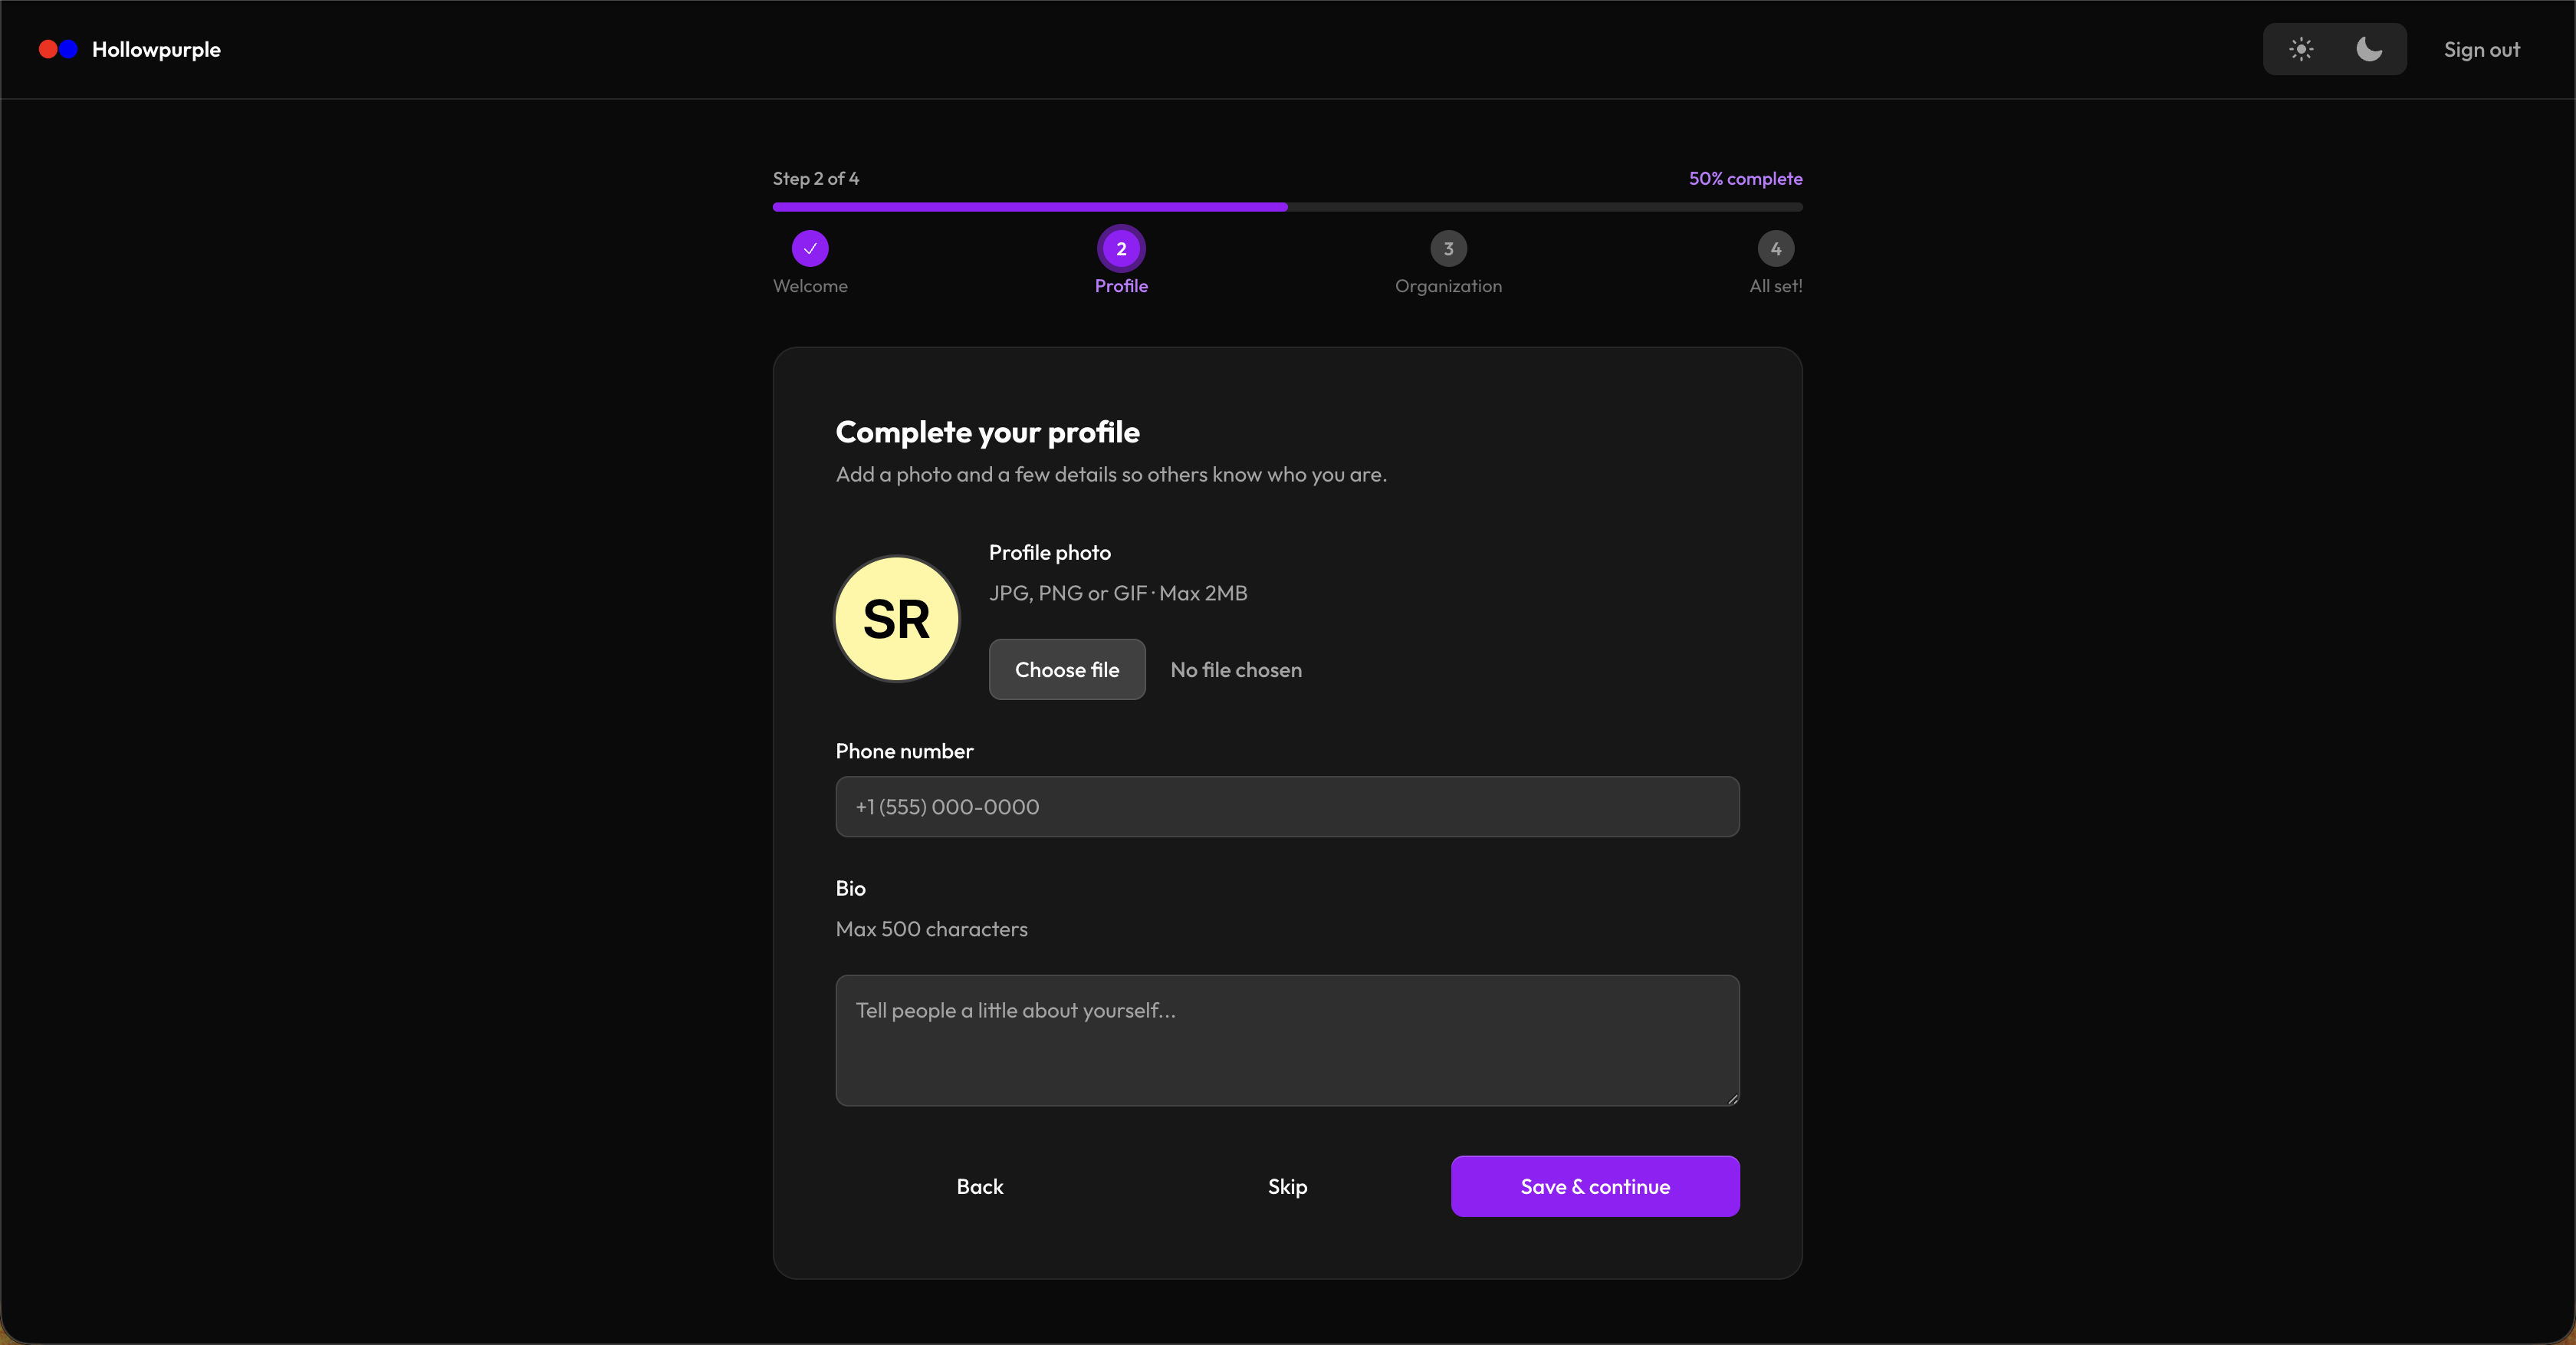
Complete Your Profile
Add a profile photo, phone number, and a short bio (max 500 characters).
- These appear on your public profile and help teammates identify you
- Click Skip if you'd rather do this later in Account Settings
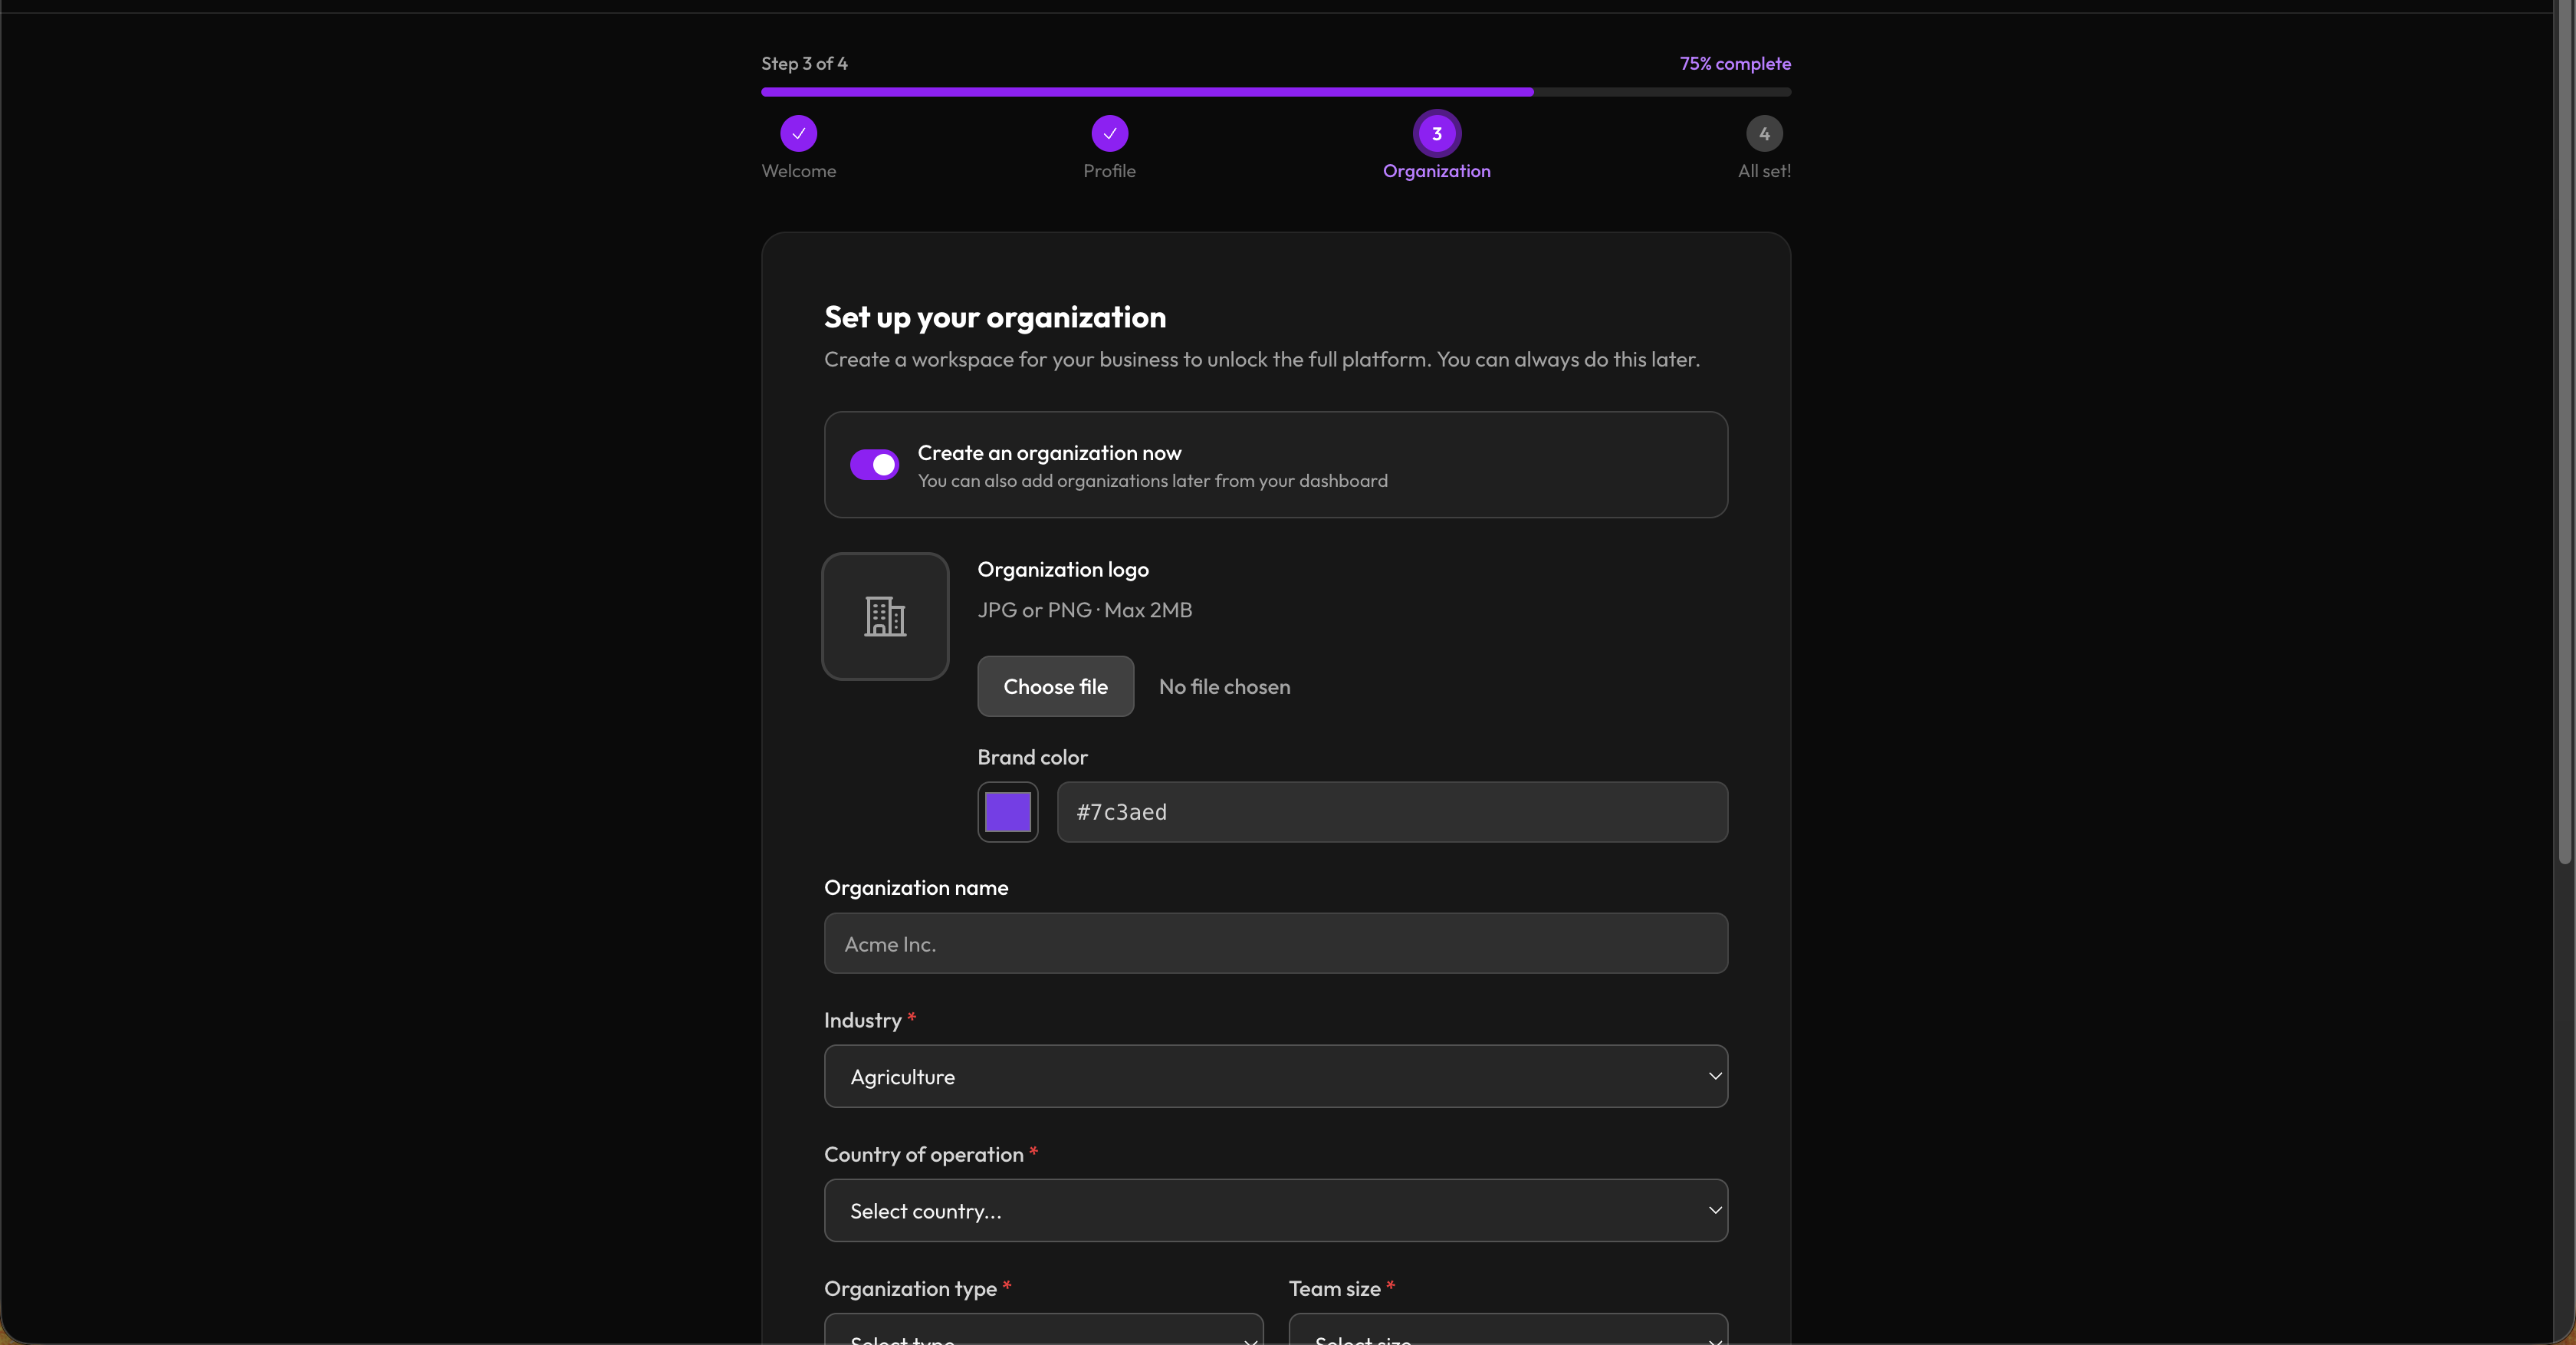
Set Up Your Organization
This is where you create your first workspace.
Toggle Create an organization now to expand the form:
| Field | Description |
|---|---|
| Logo | Your org's logo — shown in the sidebar and on invoices |
| Brand color | Primary color used throughout the interface for your org |
| Organization name | Required |
| Industry | Required — picks an industry-specific starter pack of services and stages |
| Type | Required — Freelance, Corporation, LLC, etc. |
| Team size | Required — approximate headcount |
| Business email | Optional contact email |
| Business phone | Optional contact phone |
| Website | Optional |
Industry matters. Based on the industry you pick, we automatically seed a starter pack of services, requirements, line items, and pipeline stages tailored to your sector — Consulting, IT Services, Construction, Legal Services, Marketing, Design, or a generic baseline. Don't worry if your industry isn't an exact match — you can edit, replace, or delete anything we seed.
Leave the toggle off and click Skip for now if you want to set this up later — you can always create an organization from your dashboard.
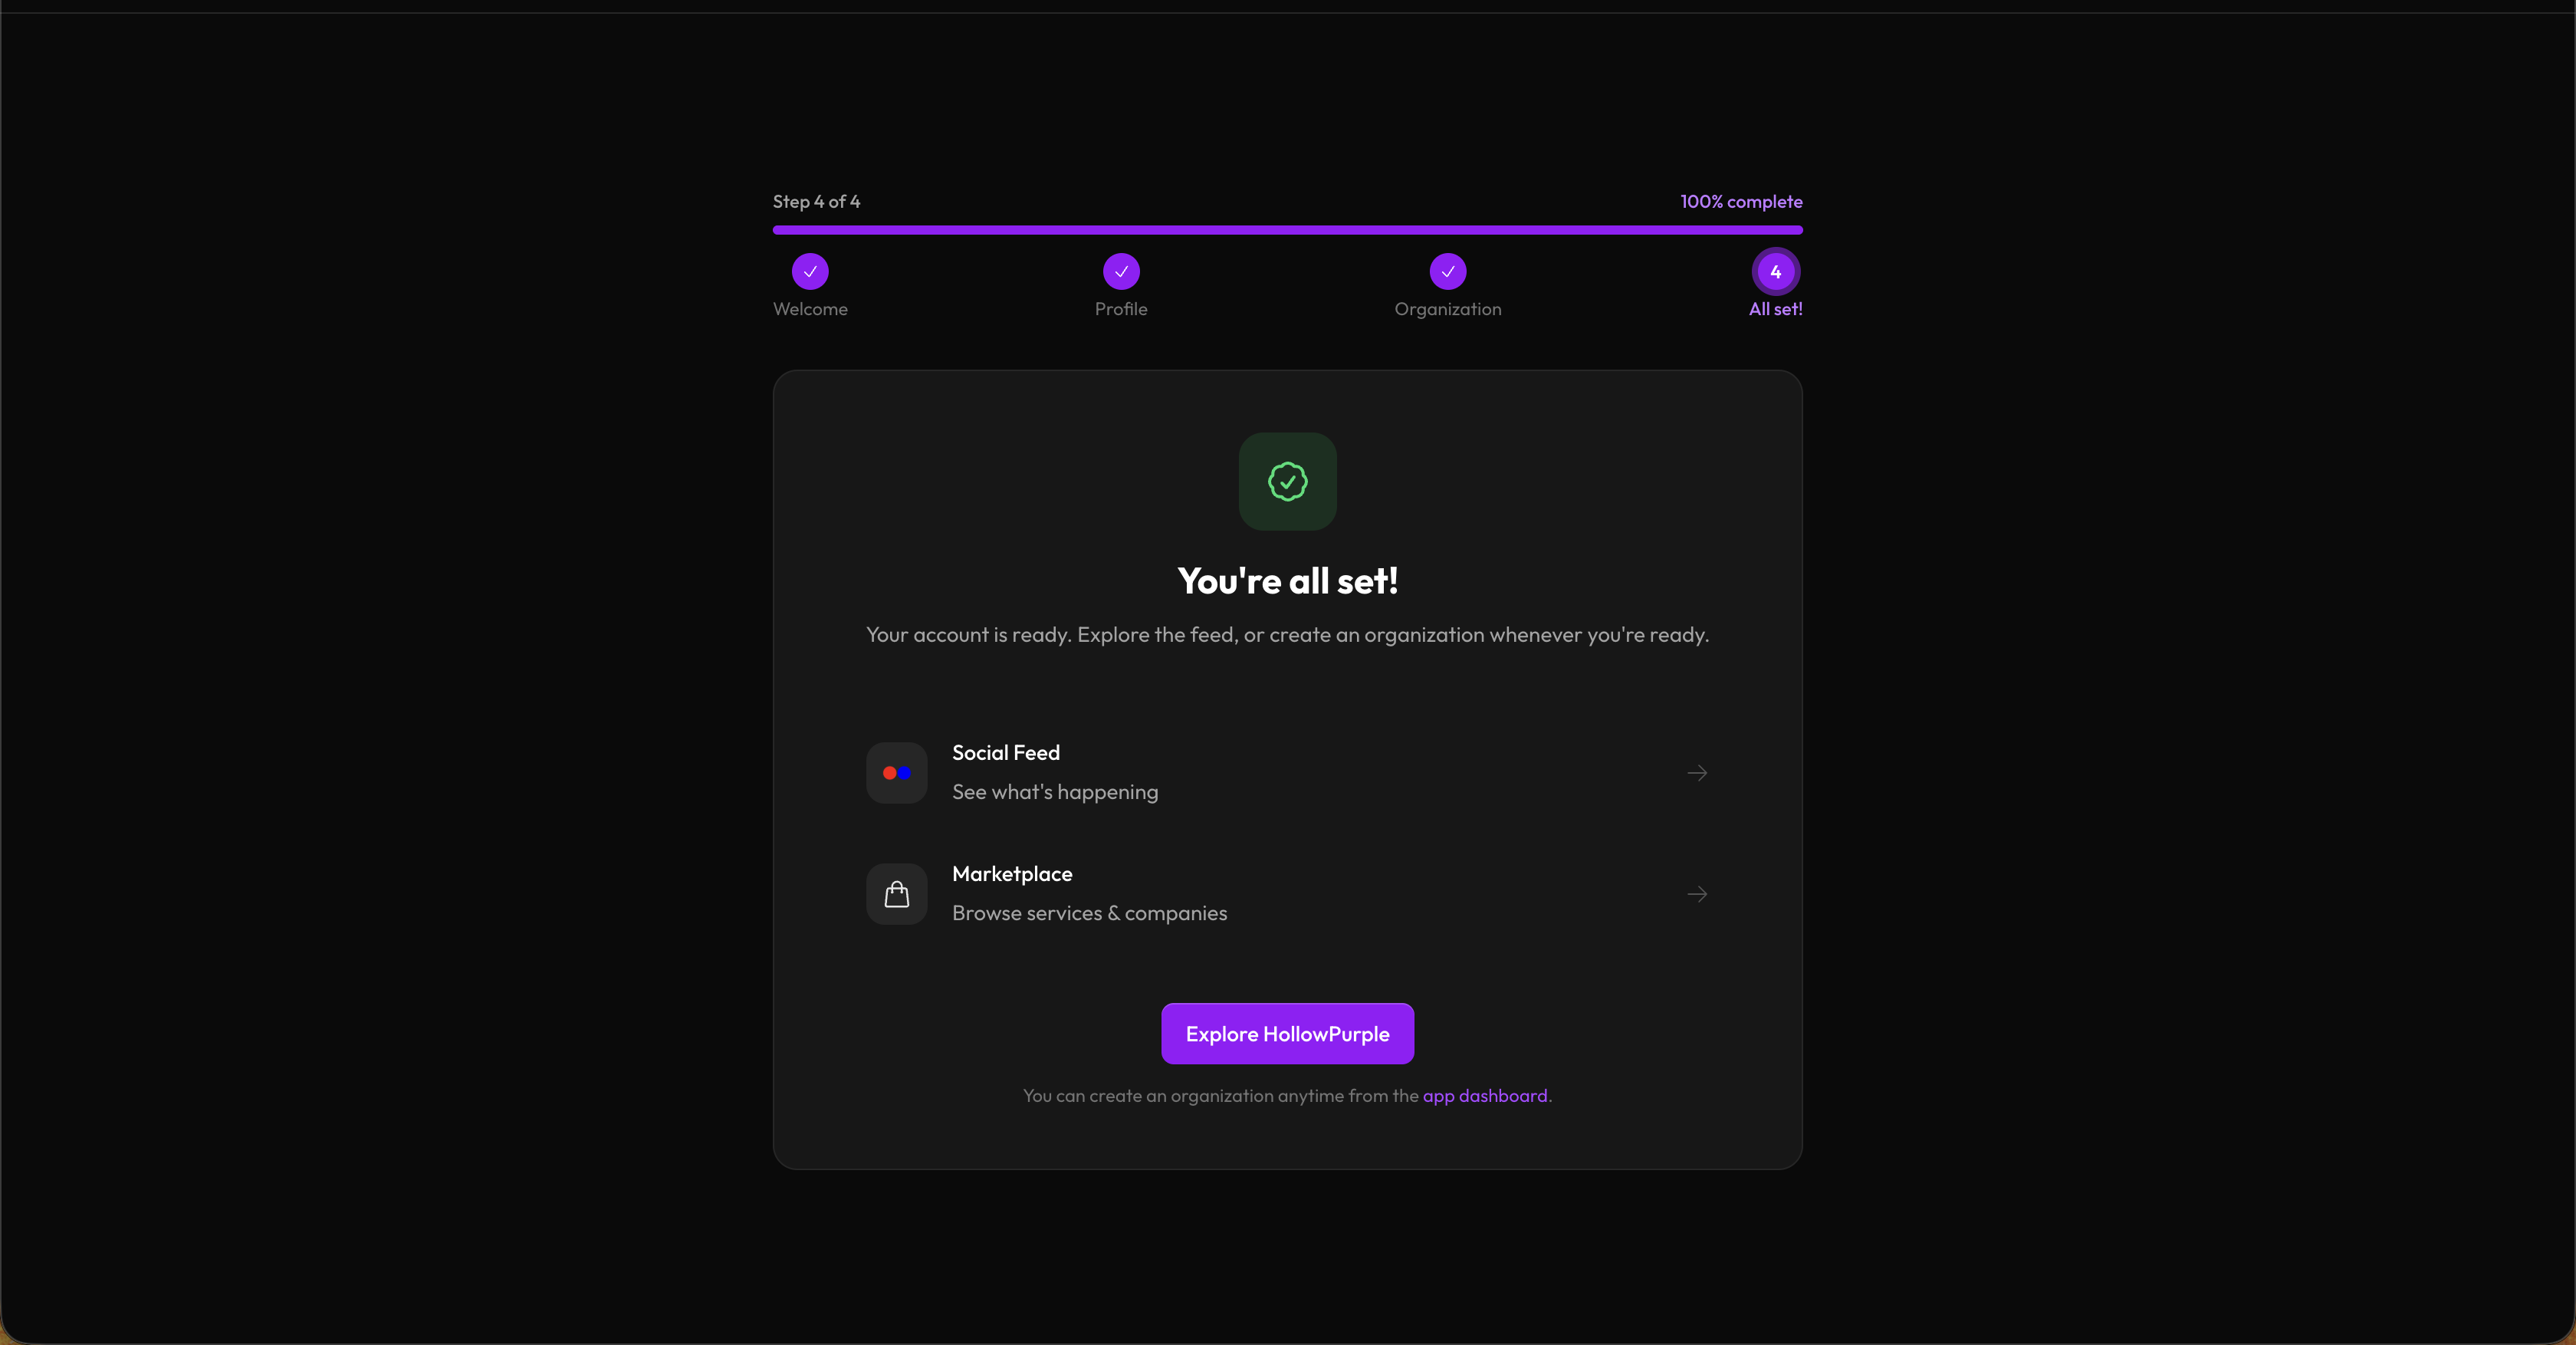
You're All Set
Links to the social feed, marketplace, and your dashboard. Click Go to dashboard (if you created an org) or Explore HollowPurple to finish.
Step 3 — Configure Your Organization
Once inside the dashboard, spend a few minutes in Organization Settings (click your org name in the sidebar → Organization Settings).
Recommended first-time settings
| Tab | What to do |
|---|---|
| General | Confirm your name, industry, contact info, and currency; set your brand color and logo |
| Finance → Invoices | Set your invoice ID prefix (e.g. INV) and format |
| Finance → Taxes | Enable tax and set your rate if applicable |
| Customer Relations → Tickets | Set your ticket number prefix |
| Service Manager → Requests | Set your request ID prefix |
| Opening Hours | Set your weekly schedule and any holiday exceptions (shown to clients on the marketplace) |
| Integrations | Configure SMTP, payment gateways (Paystack/Stripe/PayPal), and SMS gateways when you're ready to use them |
You don't need to fill everything in on day one.
Step 4 — Add Your First Records
Here's a recommended order:
If you sell services
- Services — Review the services we seeded based on your industry, edit them, or import a Template from the community
- Line Items — Adjust your billable components and pricing
- Contacts — Add the people you work with
- Invoices — Bill a client
If you're tracking a sales pipeline
- Accounts — Add companies you're targeting
- Contacts — Add people at those companies
- Leads — Create leads for each opportunity
- Deals — Promote a lead to a deal when it progresses
- Pipeline Board — Drag your deals across stages as they progress
If you're managing a team
- Invitations — Invite team members and clients by email
- Groups — Organize them into departments or teams
- Roles & Permissions — Assign appropriate access levels
- Projects — Create a project and assign team members
- Tasks — Add tasks and assign them
Step 5 — Choose a Plan (Optional)
The Free plan is enough for most small teams to evaluate the platform. When you're ready to grow:
- Visit Plans & Billing in the app, or open
/pricing - Pick a plan (Starter, Pro, or Enterprise) and a billing cycle (monthly or annual — annual saves 20%)
- Complete checkout via Stripe
Paid plans are billed per active seat — every team member added to your org is one seat. The billing page shows your current usage against plan limits.
Step 6 — Add More Organizations (Optional)
You can belong to multiple organizations. To create another:
- Click your organization name in the sidebar
- Select Create organization
- Fill in the form (same fields as the onboarding wizard, plus branding)
Each organization is completely separate — its own data, settings, team, and billing.
Quick Reference
| Where to go | What it's for |
|---|---|
/app |
Your main business dashboard |
/app/{org}/edit-profile |
Organization settings |
/billing |
Plans, seats, and Stripe billing portal |
/pricing |
Compare plans before upgrading |
/marketplace |
Discover services from other organizations |
/settings/profile |
Your personal profile |
/settings/two-factor |
Set up two-factor authentication |
/ |
Social feed (or landing page when signed out) |
/kb |
This knowledge base |