Groups
Groups help you organize users into logical collections—teams, departments, or any other grouping that makes sense for your organization.
Creating a Group
- Go to Users → Groups
- Click New Group
- Fill in:
- Name — Group name (e.g., "Sales Team", "Support Staff")
- Description — Optional description of the group's purpose
- Users — Select users to add to this group
- Click Create
Managing Groups
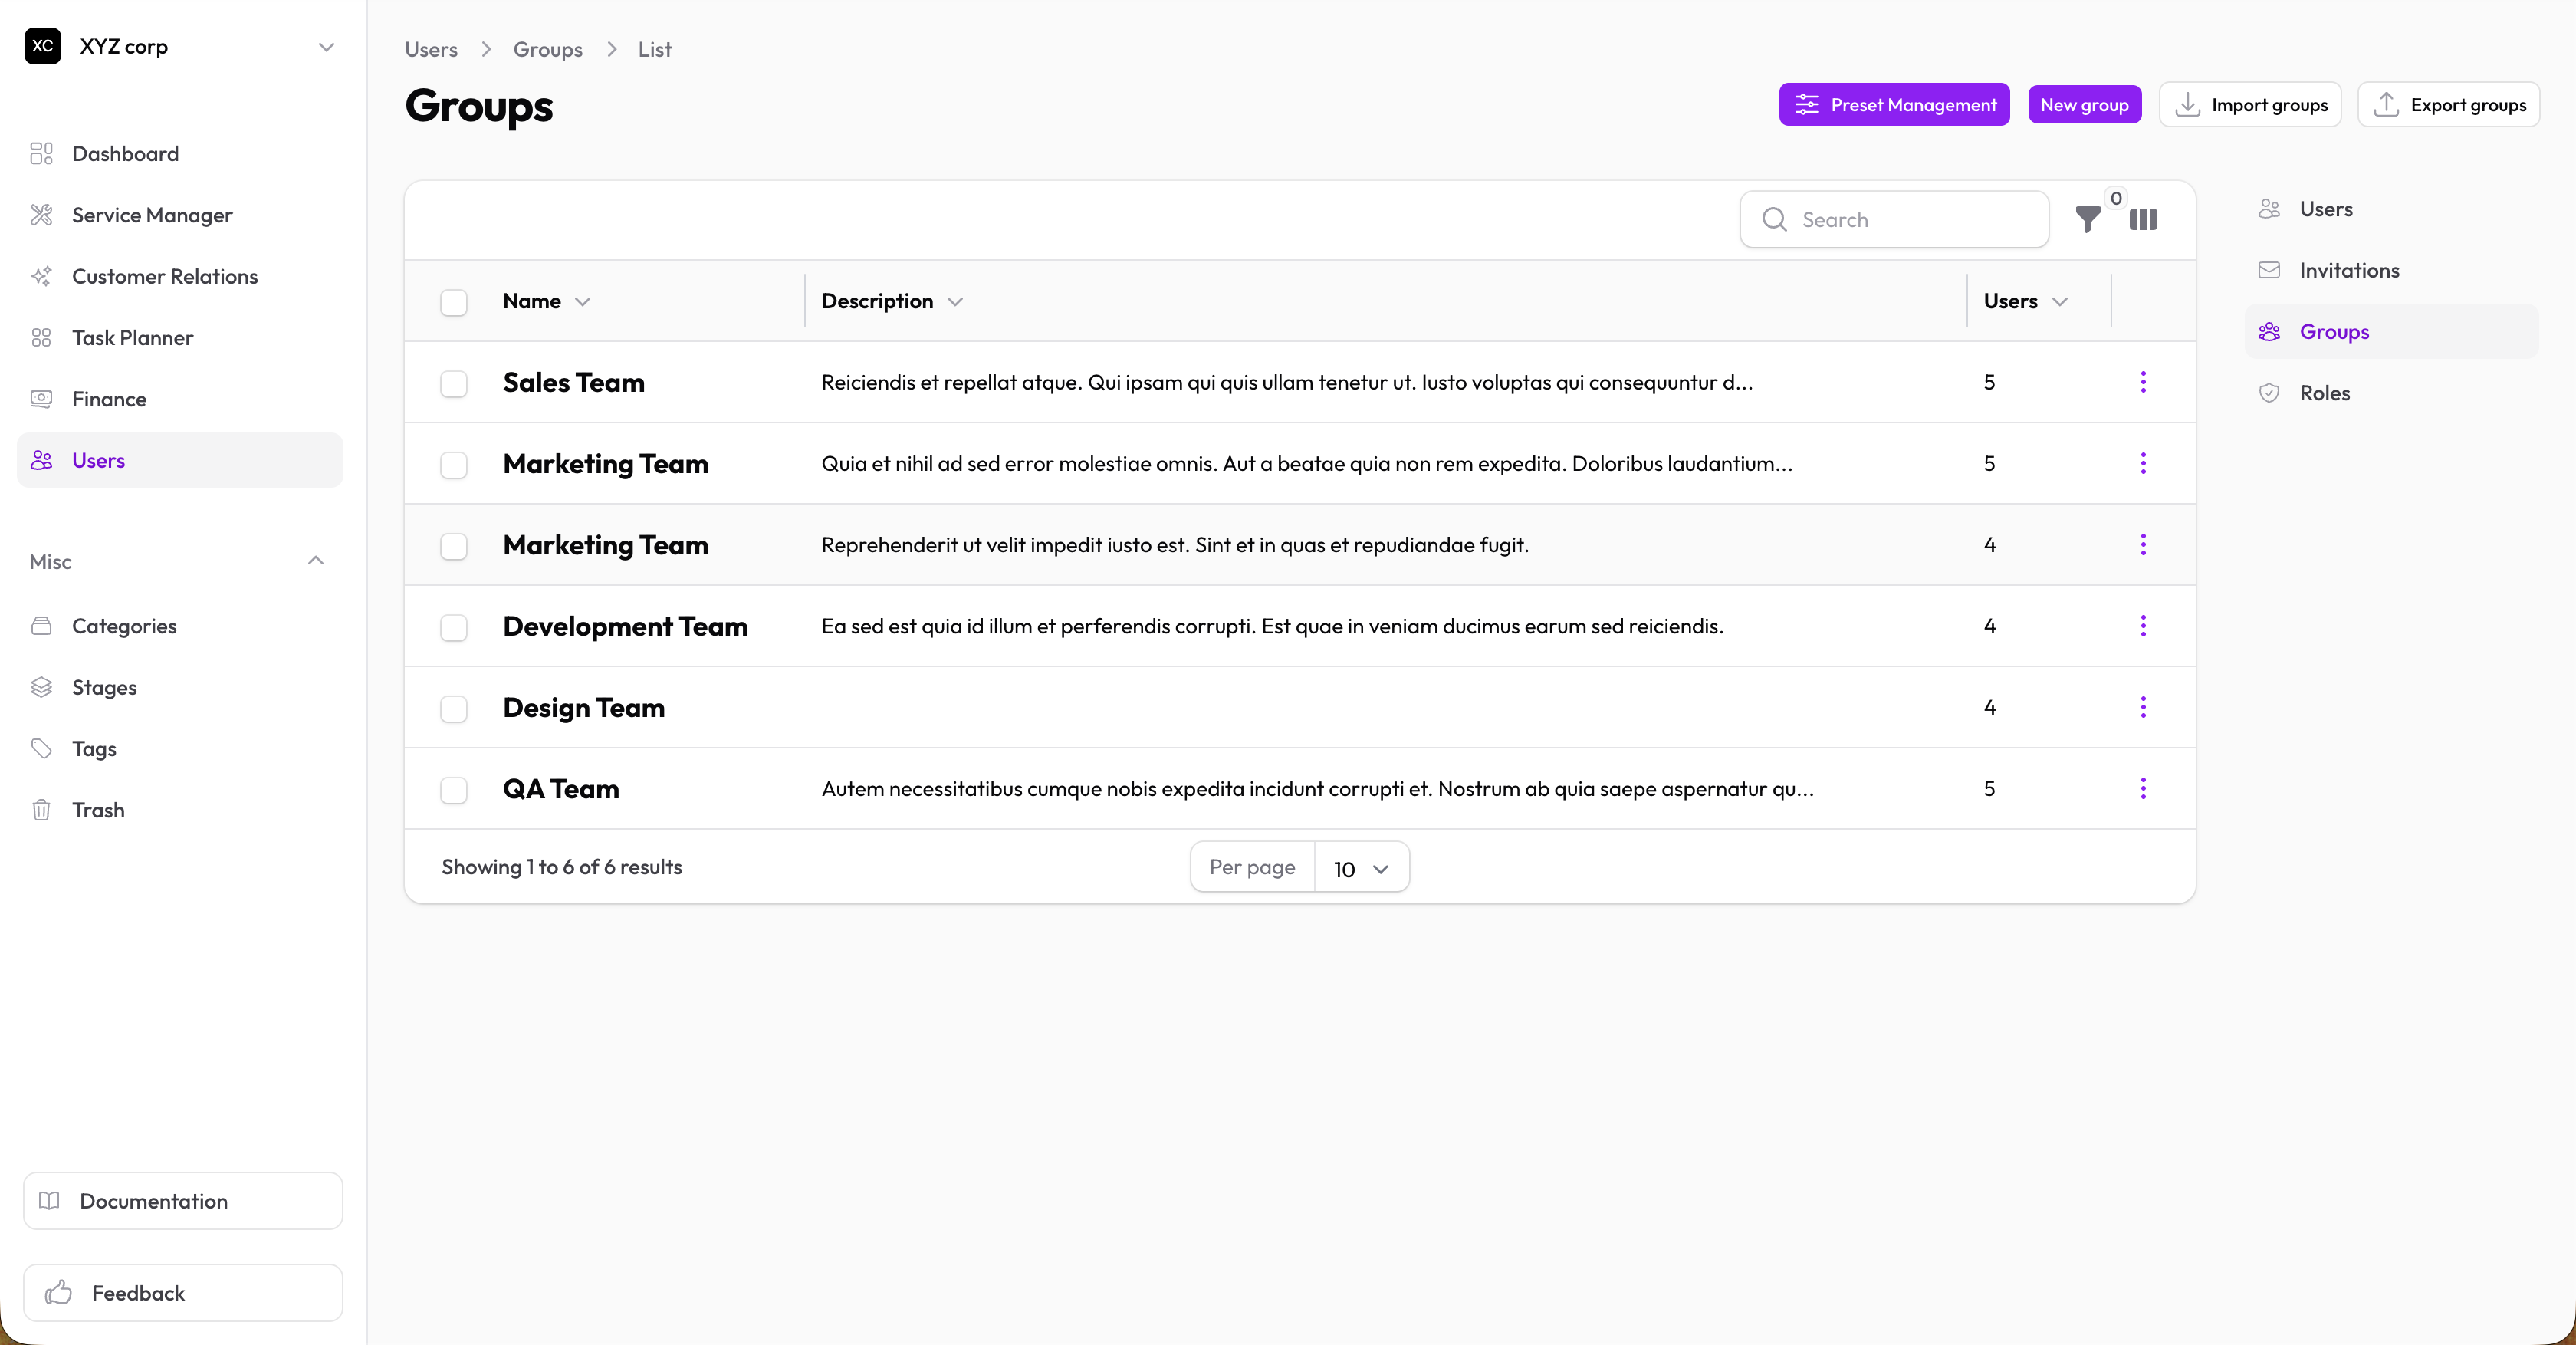
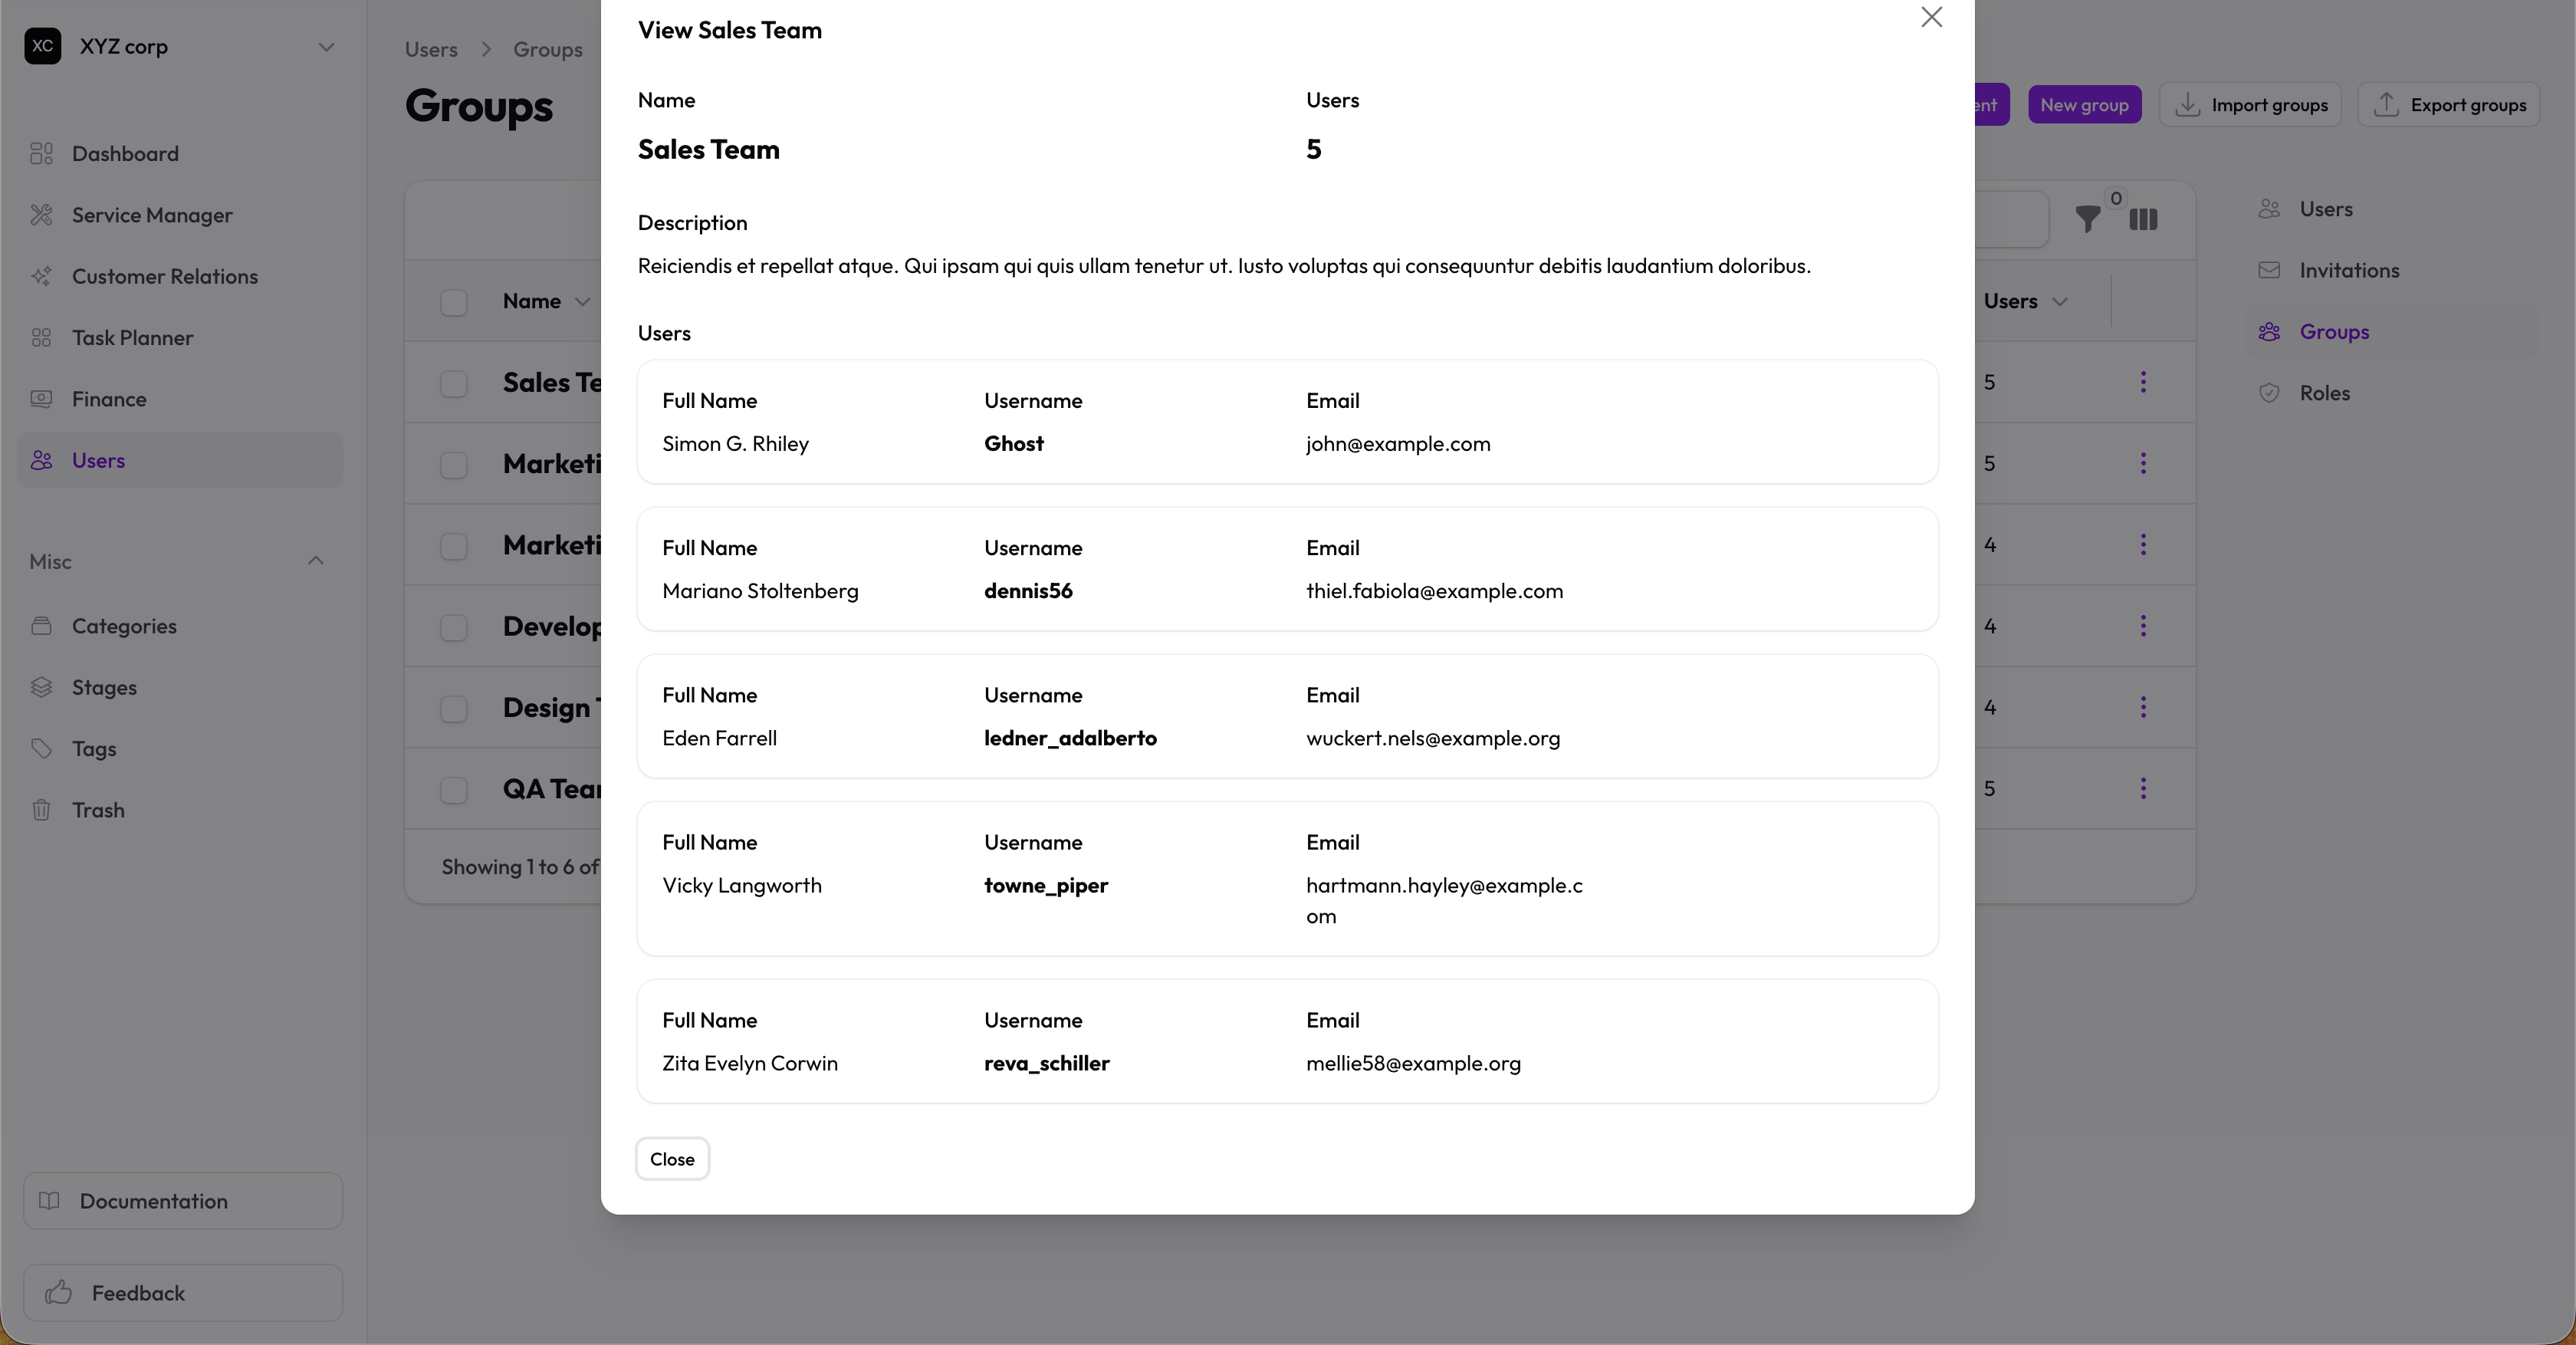
Viewing Groups
The table shows:
- Group name
- Description
- Number of users
- Creation date
Editing a Group
- Find the group in the table
- Click Edit
- Update the name, description, or user assignments
- Save changes
Adding Users to a Group
- Edit the group
- In the Users section, check the users to include
- Save
Or from the Users page:
- Edit a user's assignments
- Check the groups they should belong to
- Save
Removing Users from a Group
- Edit the group
- Uncheck the users to remove
- Save
Duplicating a Group
Use the Replicate action to create a copy of a group with the same settings (but without the user assignments).
Deleting a Group
Groups are soft-deleted (moved to Trash). You can restore them later.
Deleting a group doesn't delete the users in it—they simply lose that group membership.
Import & Export
- Import — Bulk import groups from CSV
- Export — Download groups as CSV
Use Cases
| Group | Purpose |
|---|---|
| Sales Team | Sales staff for CRM access |
| Support | Support staff for ticket handling |
| Management | Managers with reporting access |
| Contractors | External contractors with limited access |
| Project Alpha | Team members on a specific project |